When installing sheet metal roofing, cutting and adjusting the material is almost always necessary. Roofing sheets often need to be shortened, adapted to the shape of the roof, or trimmed around valleys, hips, chimneys, roof windows, and other penetrations.
However, the cutting method can have a significant impact on the service life of the metal and its protective coating. Using the wrong tool can damage in seconds a material that is designed to last for decades on a roof.
What Should You Use to Cut Sheet Metal Roofing?
For cutting coated steel sheets, manufacturers primarily recommend tools that cut the material cold, without significantly heating the cutting area.
Suitable tools include:
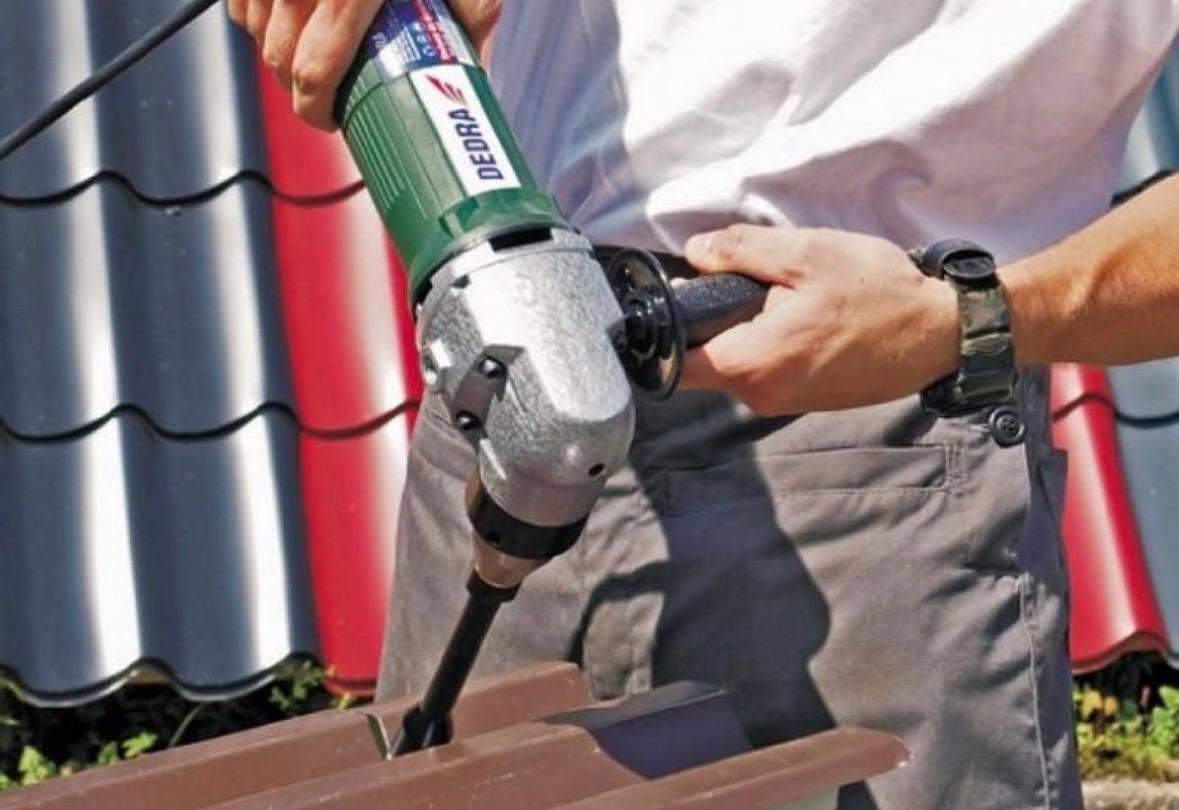
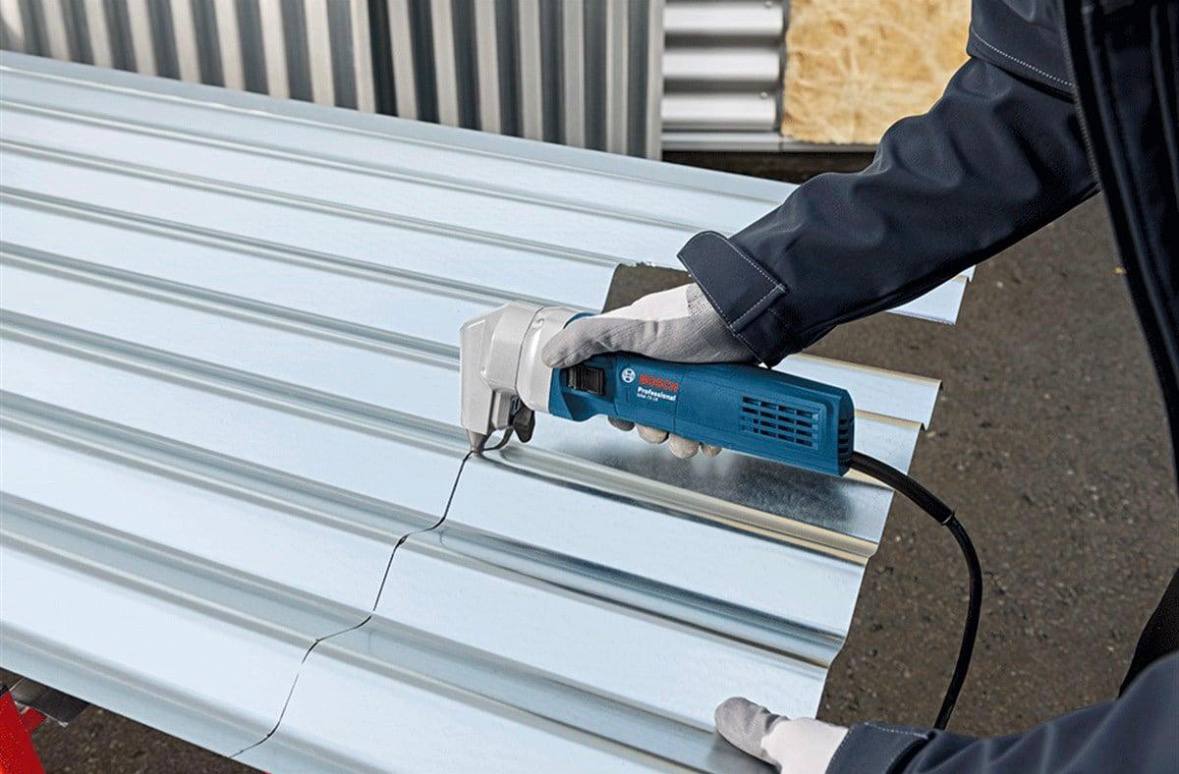
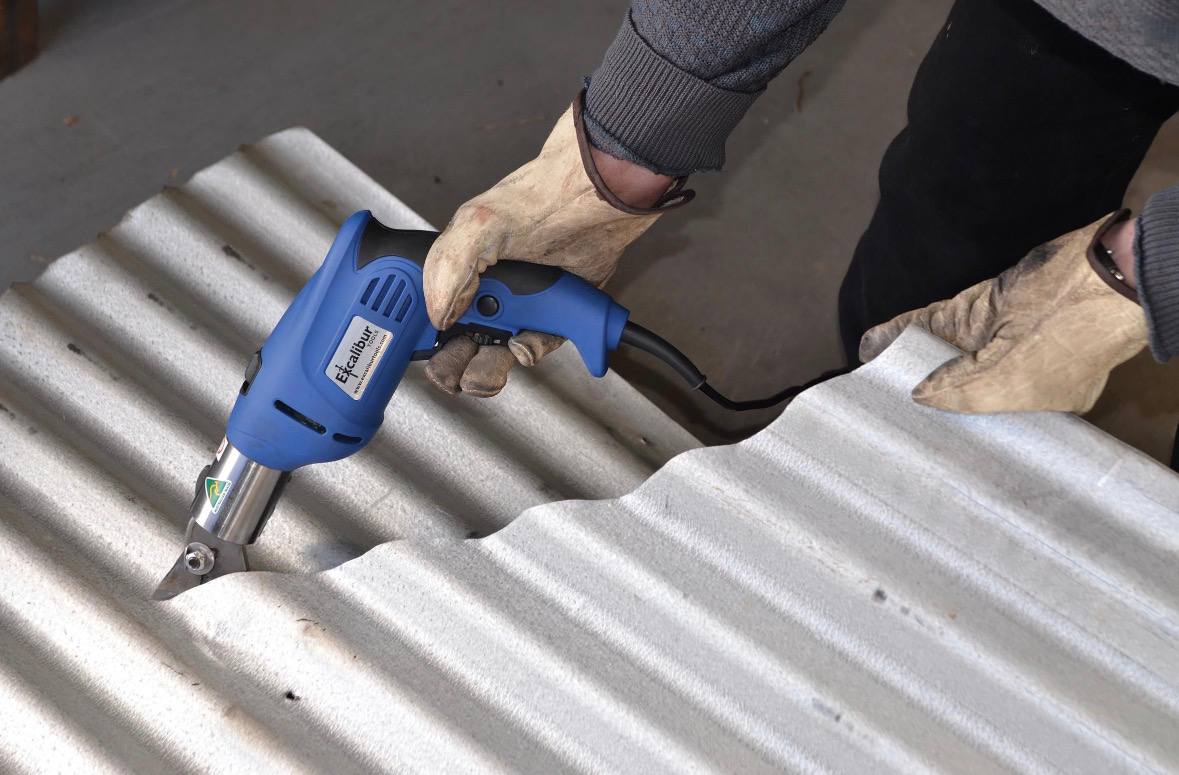
• electric sheet metal shears,
• electric nibblers,
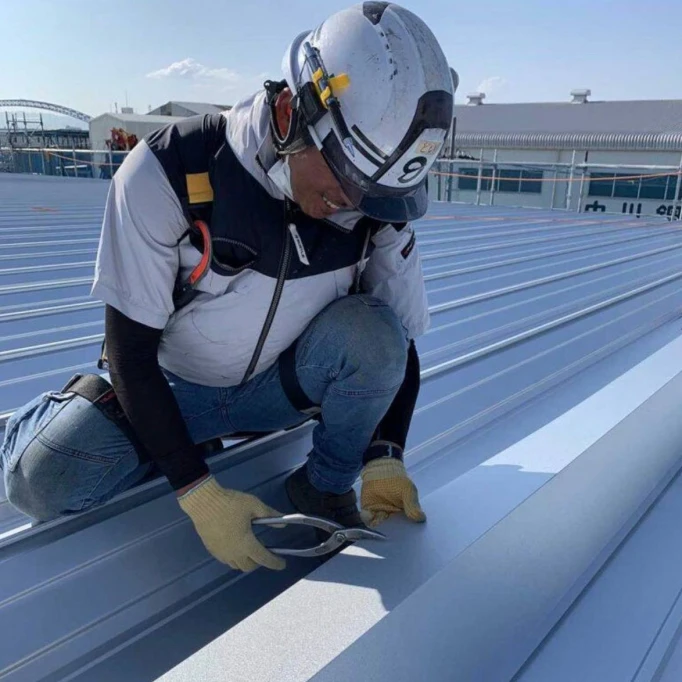
• manual tin snips for smaller adjustments and details,
• other tools specifically approved by the roofing manufacturer for cold cutting sheet metal.
For some types of roofing, manufacturers may also permit the use of a special circular saw or other cutting tools specifically designed for steel. It is therefore always important to follow the installation instructions provided for the specific roofing product.
Why Should You Avoid Using an Angle Grinder?
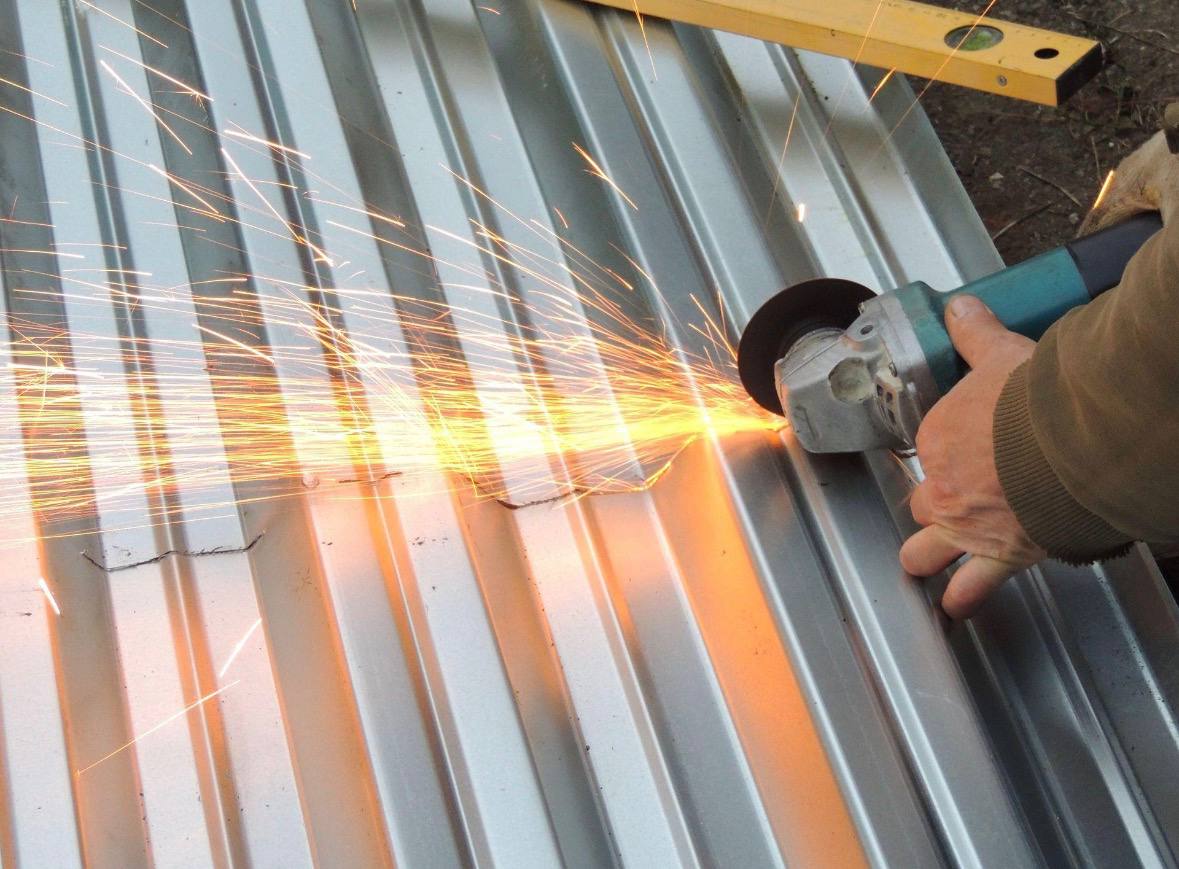
One of the most common mistakes on construction sites is cutting sheet metal roofing with a standard angle grinder.
An angle grinder fitted with a conventional abrasive cutting disc should not be used to cut coated sheet metal roofing.
The cutting process generates high temperatures that can damage the protective coating around the cut edge. Another problem is the hot metal particles and sparks produced during cutting. These can land on the surrounding roofing surface, become embedded in the coating, and create small areas where corrosion may subsequently develop.
This is not merely a theoretical recommendation. Some manufacturers explicitly state that using an angle grinder may void the warranty on the surface coating or the roofing product itself.
Watch Out for Metal Filings and Swarf
Making the correct cut is only part of the job.
After cutting, drilling, or installation, small metal filings and swarf may remain on the surface of the roofing. These must be removed. If left on the roof, they can begin to corrode and may subsequently stain or damage the protective coating.
After completing the installation, we therefore recommend inspecting the entire roof surface and thoroughly removing all metal debris.
What Should You Do with a Damaged Surface?
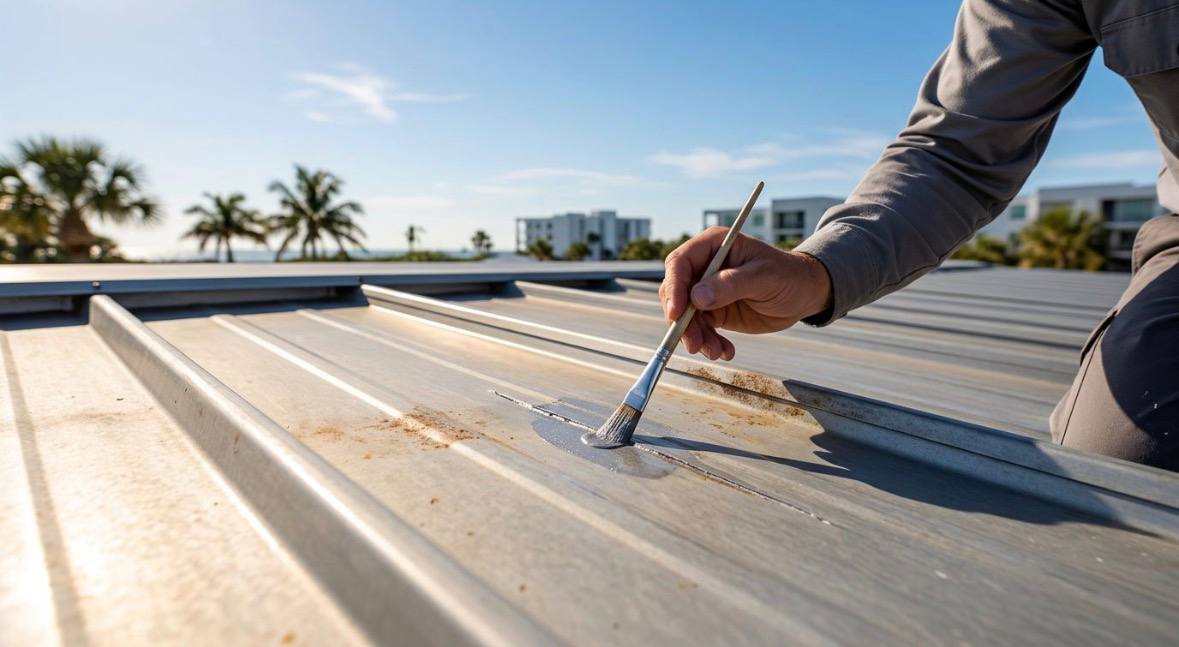
Minor scratches to the protective coating can sometimes occur during installation.
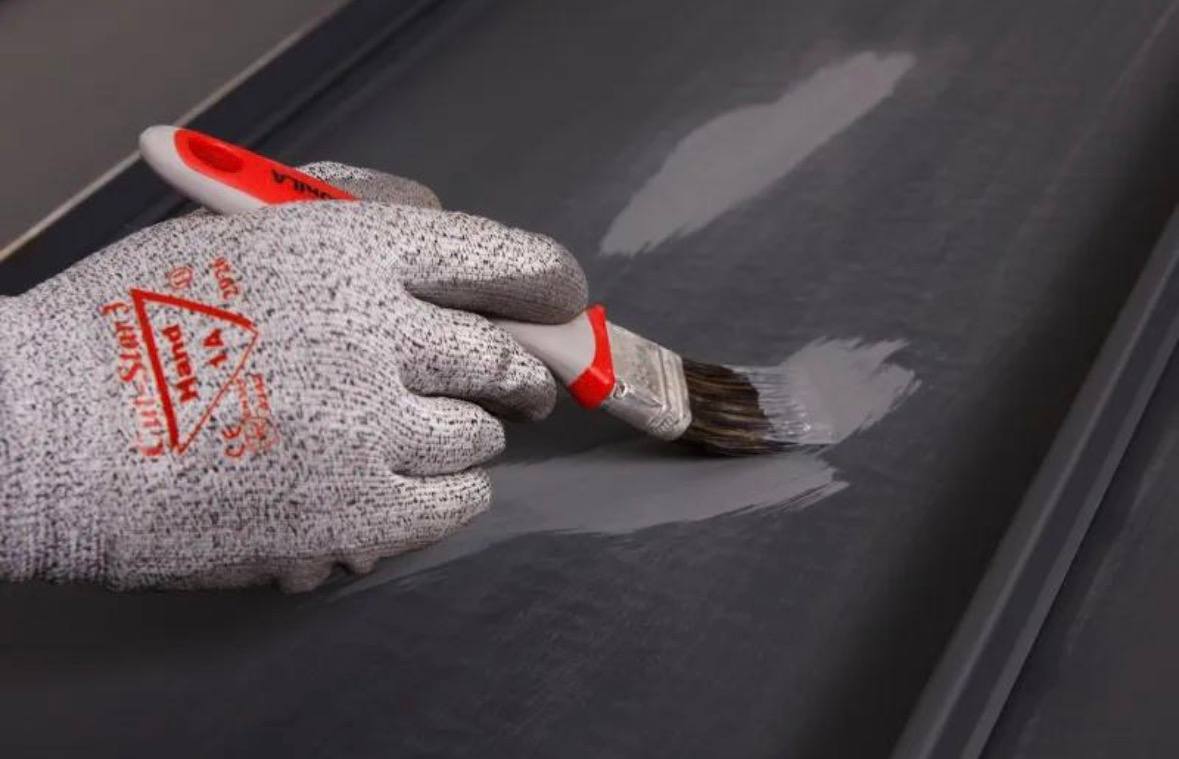
Such areas should be treated as soon as possible with touch-up paint recommended by the roofing manufacturer. The paint should be applied locally to the damaged area rather than unnecessarily covering a large area around it.
For cut edges, always follow the specific installation instructions provided by the manufacturer, as the requirements for additional treatment may vary depending on the material and type of protective coating.
Different Roofing Products May Have Different Requirements
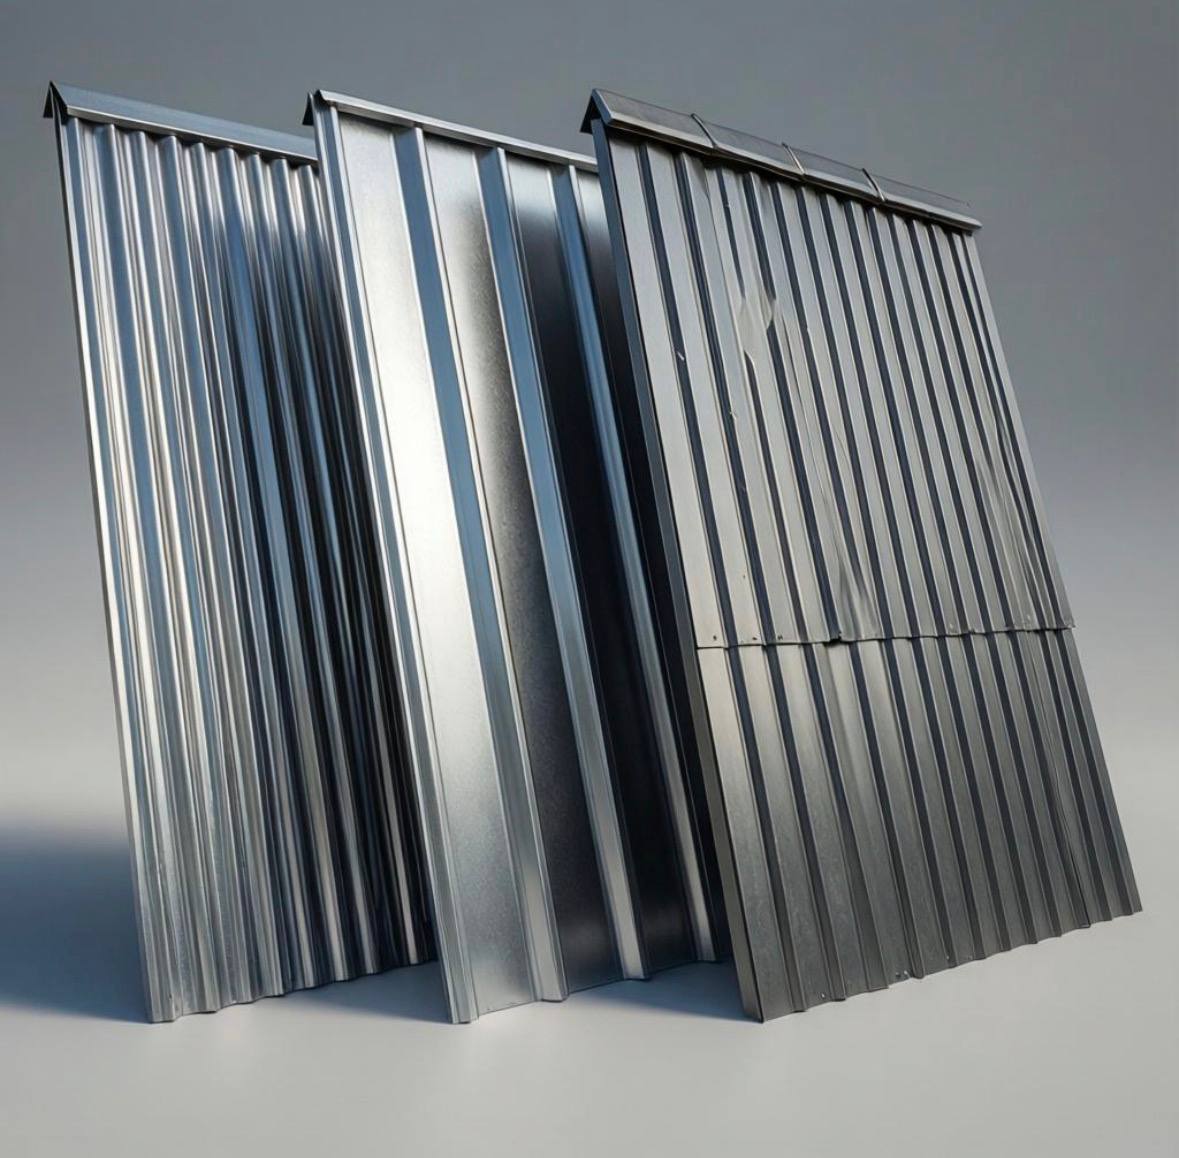
Sheet metal roofing is not a single universal product. Different cutting and adjustment methods may apply to:
• trapezoidal sheets,
• metal roof tiles,
• modular roofing,
• Click panels,
• standing seam roofing,
• steel and aluminium sheets.
For this reason, the installation instructions provided by the manufacturer for the specific type of roofing should always take priority.
Summary
Properly cutting sheet metal roofing is not complicated, but it requires suitable tools and adherence to a few basic rules.
Use sheet metal shears, a nibbler, or another manufacturer-approved tool designed for cold cutting. Avoid using an angle grinder, remove all metal filings and swarf after the work is completed, and promptly treat any damage to the protective coating.