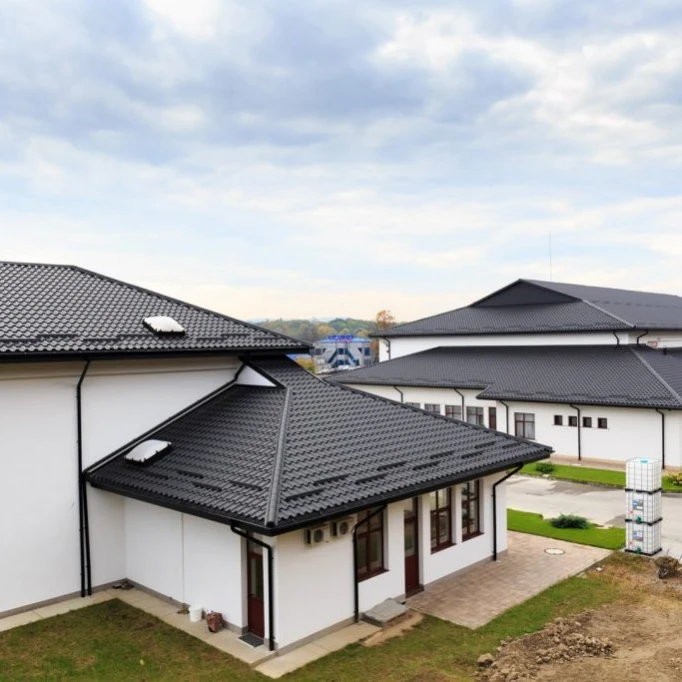
Installation of sheet metal roofing requires careful planning and adherence to correct procedures to ensure its functionality, aesthetics and longevity. The following steps describe in detail the metal roofing installation process.
Steps to install metal roofing
1. Preparation and planning
- Measuring the roof area: Before buying sheet metal roofing, it is necessary to accurately measure the roof area. Consider the pitch, length and width of the roof.
- Selection of material: Choose a suitable type of sheet metal covering (e.g. trapezoidal sheet, sheet metal bags). Consider the color, finish and thickness of the sheet metal.
- Purchase of the necessary materials: In addition to the sheet metal covering, you will also need fasteners (screws, nails), battens, roofing foil and gaskets.
2. Preparation of the roof structure
- Roof inspection and repair: Make sure the roof is in good condition, strong and stable. Repairs and replacements of damaged elements are necessary.
- Installation of a vapor barrier: If necessary, install a vapor barrier to prevent moisture from penetrating the thermal insulation.
- Placement of counter battens: Counter battens are installed perpendicular to the rafters to form a foundation for the roof battens.
3. Installation of roof battens
- Attaching the roof battens: The battens are installed perpendicular to the counter battens. Their spacing should correspond to the specifications of the sheet metal covering manufacturer and the type of covering that will be installed.
- Ensuring Proper Alignment: Make sure battens are level and properly aligned to avoid unevenness in the final layer.
4. Installation of metal roofing
- Laying the sheet metal panels: Start laying the sheet metal panels from the bottom edge of the roof towards the ridge. Make sure the panels extend beyond the edge of the roof (minimum 2-3 cm) and meet water drainage requirements.
- Attaching the panels: Attach the sheet metal panels to the roof battens with screws or nails. Make sure that the screws are not overtightened to avoid deformation of the sheet.
- Fixing the joints: Make sure all sheet metal panel joints are tight to prevent water ingress. Some types of sheet metal roofing may require the use of sealant or silicone adhesive.
5. Installation of add-ons
- Ridge and Corner Sheets: Install ridge and corner sheets at the top of the roof and at the corners to ensure a watertight connection.
- Drainage features: Install gutter sheets to help drain water from the roof into the gutters.
6. Completion of assembly
- Quality control: After the installation is complete, check all joints and fasteners to make sure everything is installed correctly and that there are no gaps that could cause water leaks.
- Cleaning: Remove all debris and packaging and check that the roof is clean and ready for use.
Conclusion
Installation of sheet metal roofing can be done by professionals or skilled DIYers. Following these steps will ensure that your roof is aesthetically appealing, durable and weather resistant. Remember the importance of using quality materials and proper installation techniques to ensure the longevity of your roof.


-90x90.webp)


